Most casual cryptocurrency owners are content to keep their Bitcoin and other coins on the exchange where they bought them. Alternatively, they might transfer them to a software wallet, such as MetaMask or Coinbase Wallet, so they can easily buy NFTs, roll the dice on DeFi applications, or purchase products.
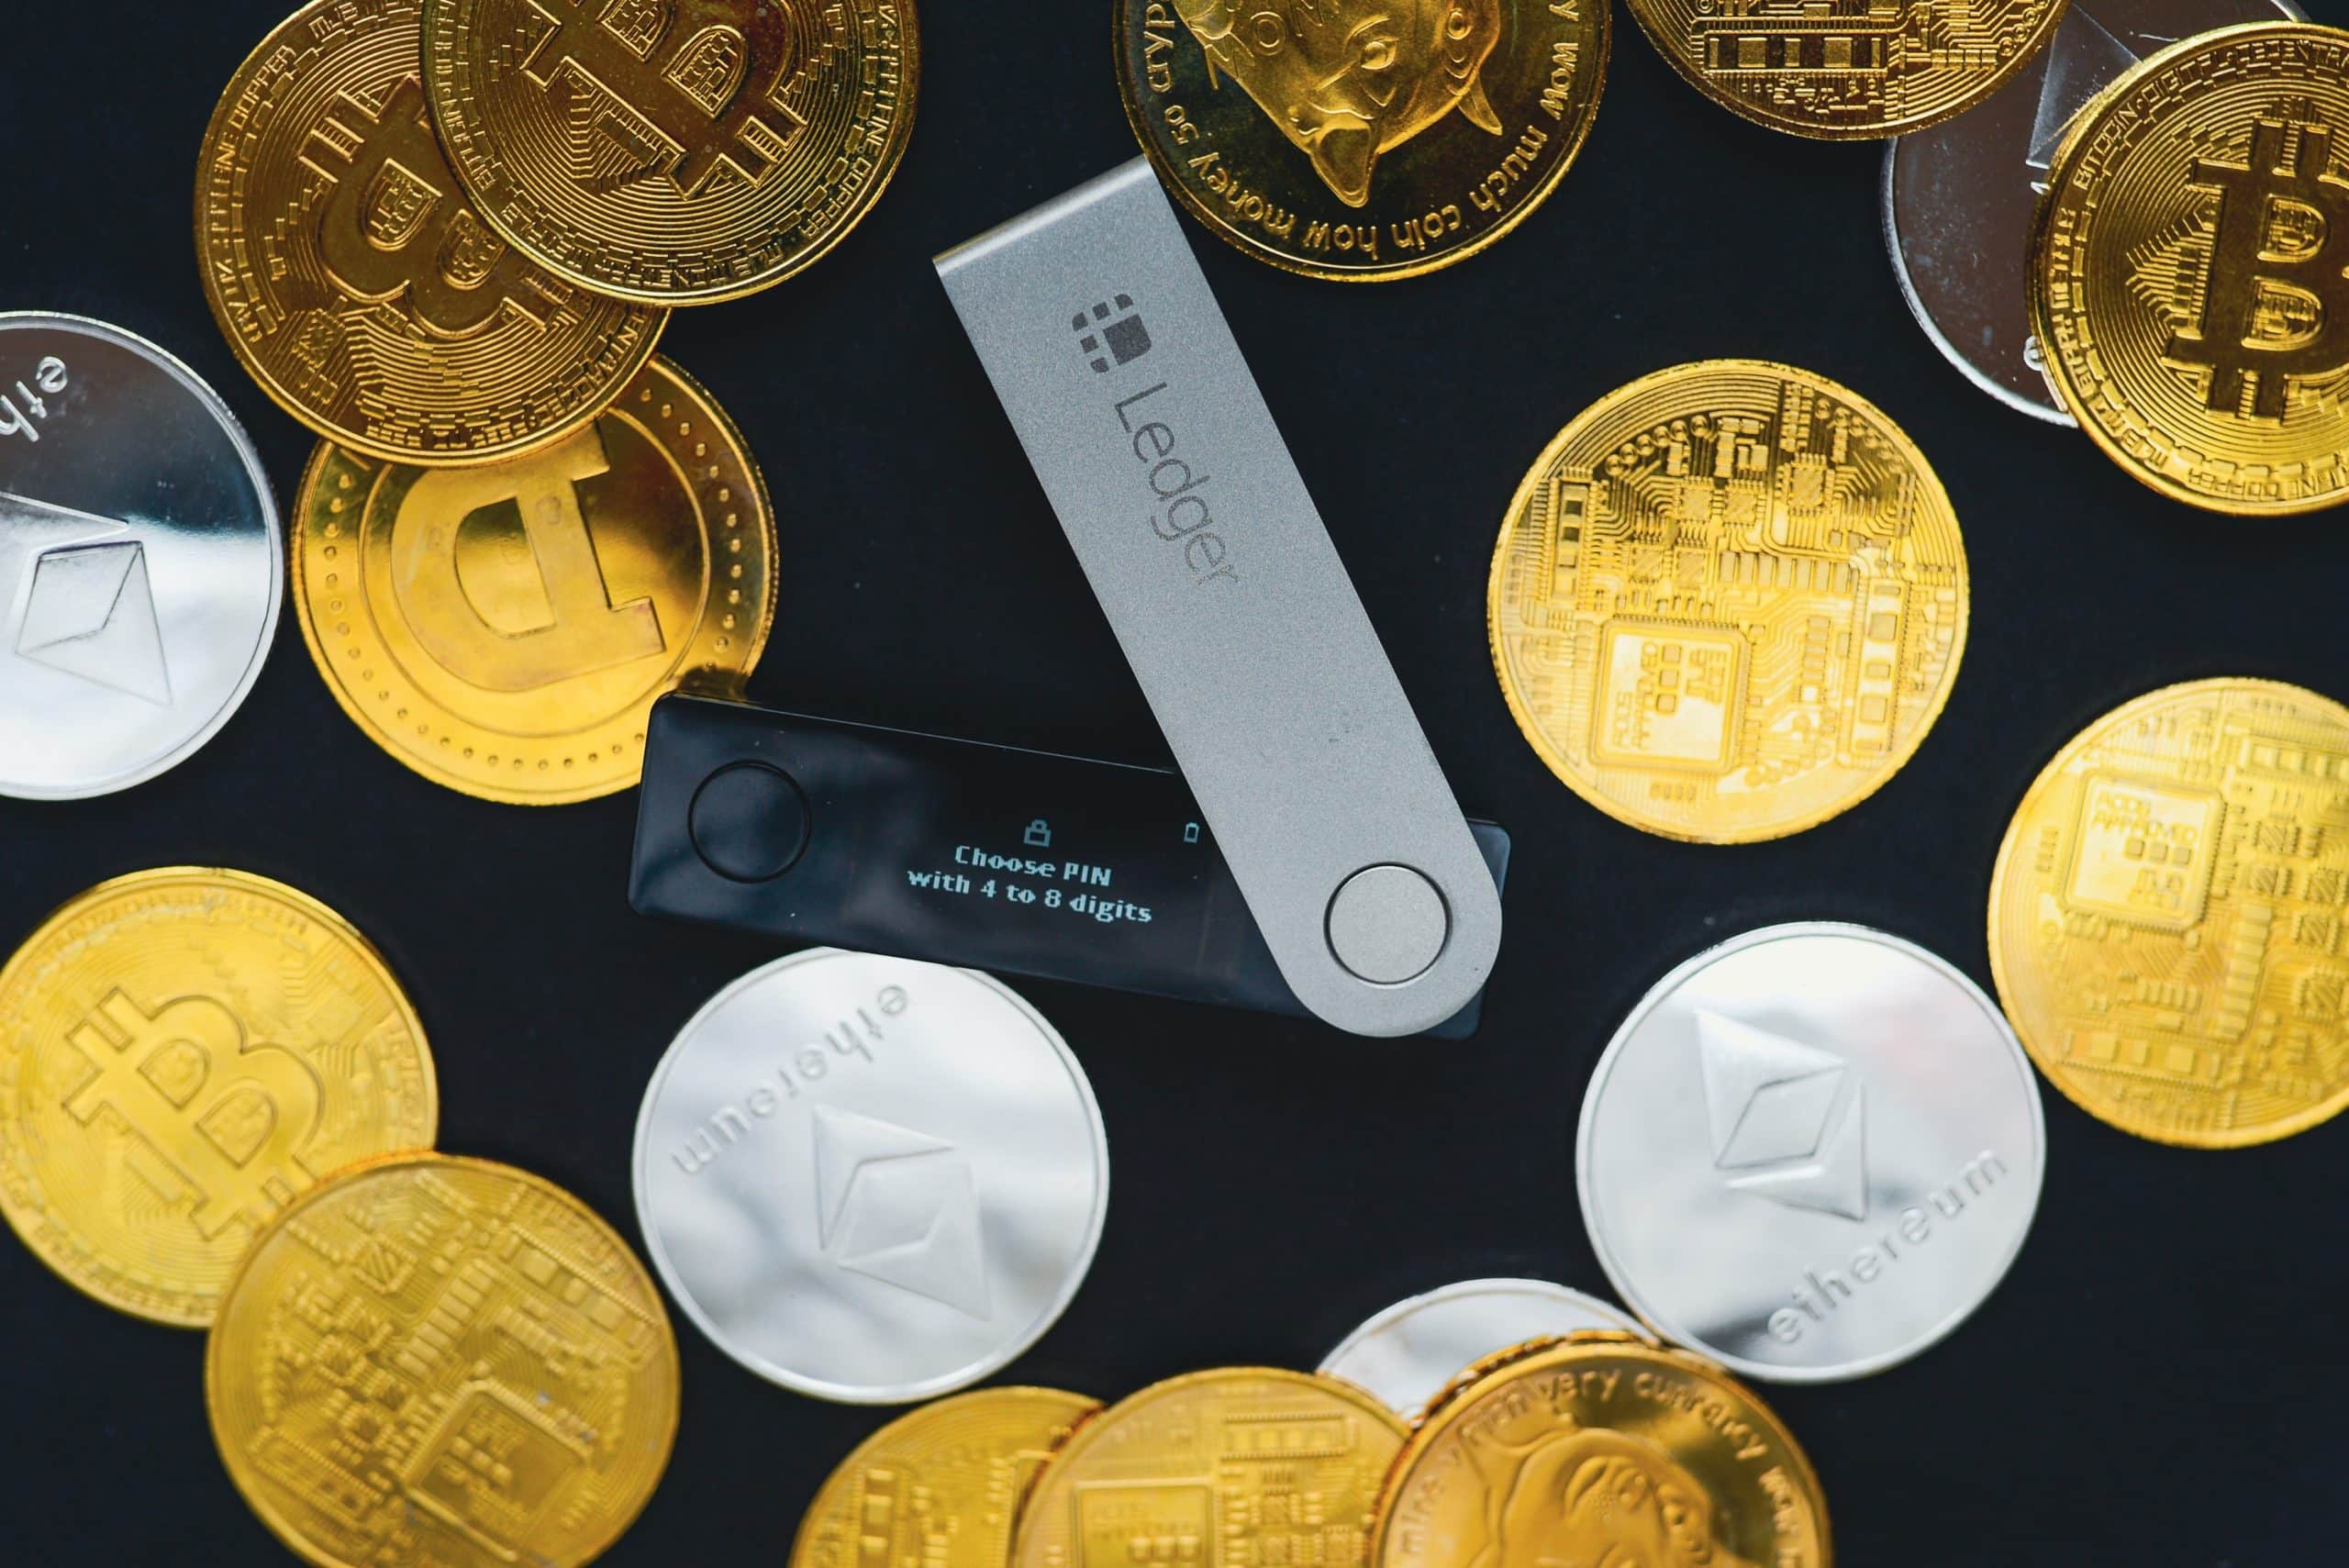
But those who take an extra-cautious approach to security often opt for hardware wallets: external devices that store crypto keys. Hardware wallets typically connect to a computer via USB or Bluetooth but don’t go online, mitigating the risk of internet-based hacks. Since the wallet stays offline, it keeps your keys in “cold storage.” Because private keys never leave the device, hardware wallets are typically more secure than software wallets.
In addition to security, they provide a layer of control not present with funds held on an exchange. You decide when to send crypto and don’t need to adhere to limits or waiting periods set by a third party.
Although each hardware wallet will come with its own step-by-step setup instructions, we’ve included the basics here as you consider your new investment.
Step 1: Choose Your Hardware Wallet
There are several criteria you’ll want to consider before buying a hardware wallet:
- Cost: You can spend anywhere from $50 to $1,500 on a hardware wallet, depending on its features (see below) and reputation.
- Portability: If you need regular access to your crypto keys, you’ll want a device that’s lightweight and slim.
- Security: While any hardware wallet should be secure enough for average users, some have added features and stringent testing standards that put security maximalists at ease.
- Supported cryptocurrencies: You can send and receive Bitcoin with just about any hardware wallet. The same goes for most major cryptocurrencies — but not all of them. If there’s a coin you must put in cold storage, ensure it’s supported on the device.
- Supported operating systems: While you can use most hardware wallets with Linux, MacOS, and Windows, you’ll want to double-check whether you can connect your hardware wallet to your mobile phone or tablet (e.g., Android or iOS).
- Supported platforms: Buying NFTs from OpenSea? You might want to get a Ledger, which easily connects to that marketplace. Enjoy ShapeShift? The KeepKey was built by the same people and integrates directly.
- UX: Beginners may want a device known for its ease of use before scaling up to options with advanced features.
Two major hardware wallet makers, Trezor and Ledger, have been duking it out since the mid-2010s. Each sells higher-end and lower-end models with their own advantages and disadvantages. Lesser-known brands, including KeepKey and SafePal, provide affordable alternatives.
- Trezor: Trezor’s most expensive hardware wallet, the Model T, has a touchscreen for ease of use. What it doesn’t have is Bluetooth connectivity or an iOS application.
- Ledger: The Ledger Live software provides a comforting glimpse into your portfolio. However, you’ll need it because the hardware relies on analog buttons rather than a touchscreen.
- KeepKey: This budget option supports fewer currencies than its peers. It sports a big screen, and its desktop software lets you connect to decentralized applications such as Uniswap.
- SafePal: SafePal offers mobile and browser-based apps to help manage the hardware, which is relatively inexpensive. While it’s neither super-versatile nor built for beginners, it’s designed to be more secure than its competitors.
For this article, we’ll assume you’ve bought a Ledger, but these steps should give you a general sense of the setup process:
Step 2: Download Wallet Software
After buying your hardware wallet, the typical first step is to download the software for that wallet from the company website. Doing so will enable you to interact with and use the hardware from your computer or mobile phone. The software allows you to see balances and portfolio information easily.
Step 3: Safely Store Your Recovery Phrase
Hardware wallets provide some recourse even if you lose them. When you set up a hardware wallet, you will establish a seed phrase, a series of random words that can help you recover your account info if you lose the device. Write it down!
You can use the seed phrase to recover your private key and access funds if your hardware wallet gets stolen, lost, or damaged. The Ledger Nano S Plus includes three separate booklets, so you can store it in three different (secure) locations if you choose.
To reduce the chances of human error, we recommend confirming via the device that you’ve written down your seed phrase correctly. It will take three extra minutes, but it could save heartache later.
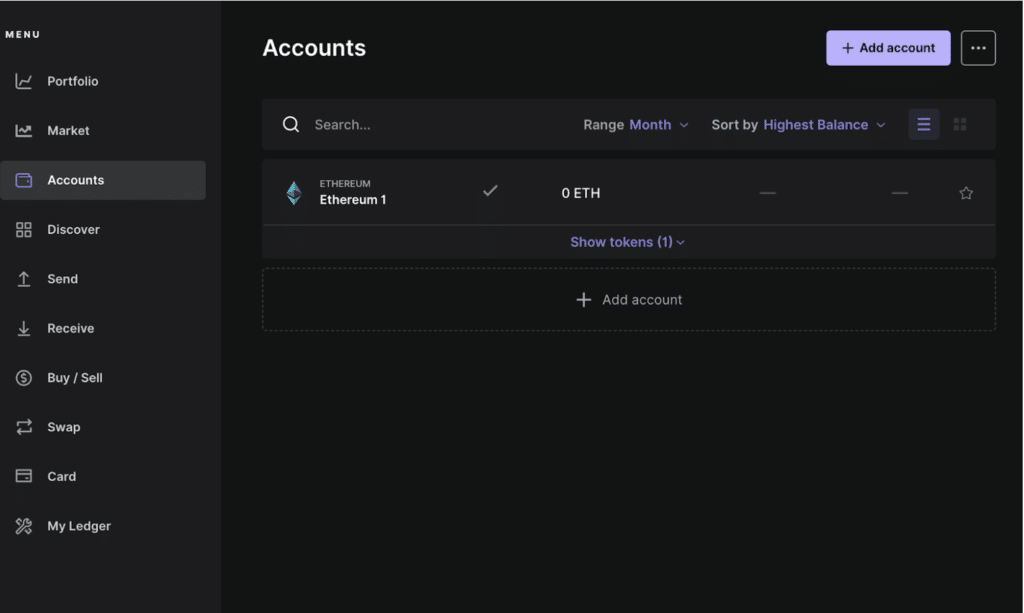
Step 4: Set Up Accounts on Your Hardware Wallet
Once your hardware wallet is up and running, you’ll need to establish an account for each currency you will store on it. For Bitcoin, you’ll set up a Bitcoin account, which provides an address for receiving funds. If you plan on storing ETH, you’ll set up an Ethereum account. You can also receive ERC-20 tokens such as MKR and UNI at this address.
The software will prompt you to follow the instructions on the hardware.
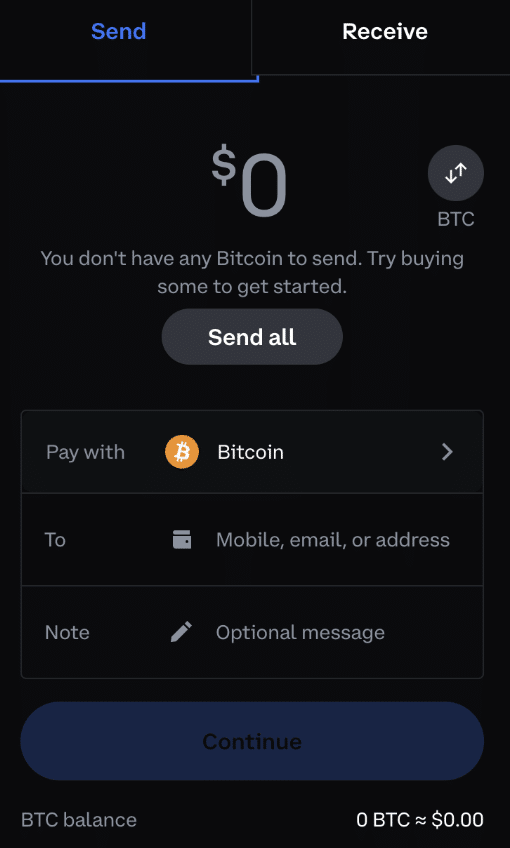
Step 5: Transfer From Your Exchange
If your funds are on an exchange such as Coinbase, log on to your account. From there, click the send/receive button and copy the address provided in the hardware wallet software.
After waiting a few moments, you should see your funds show up on the hardware wallet’s dashboard.
Conclusion
While hardware wallets provide an additional layer of security, they aren’t for everyone. Unlike standard software wallets, they cost money. Moreover, they must be plugged into a computer or phone, so they aren’t ideal for traders with a quick trigger finger; they’re typically better for HODLers, though hardware wallet makers are adding trading features. Finally, they have to be set up, which may be more than green beginners are ready for.
Still, you can buy a hardware wallet for less than a tank of gas. And the market supports enough models that greenhorns and advanced users alike should be able to find a product that suits them.