
Over the last few months, Ordinals (Bitcoin NFTs) have gone from a niche interest among a small group of Bitcoiners to a fast-growing technology that’s captured the attention of collectors, traders, developers, and creators across crypto ecosystems. Usage has hockey-sticked during winter 2022-2023, culminating in Yuga Labs’ March 2023 “Twelvefold” Ordinals auction that netted 735 BTC ($16.5 million at the time of auction). That event included participation from top ETH collectors, many of whom are spinning up full Bitcoin nodes for the first time in their lives.
Whether Ordinals mature into a small, differentiated corner of the NFT world, or a deca-billion-dollar asset class sparking a new renaissance in Bitcoin development and adoption, remains to be seen — but Ordinals are here to stay.
What Are Ordinals?
The quick answer is that Ordinals are Bitcoin NFTs. The longer answer is that when people commonly refer to Ordinals, they are actually referring to a unique combination of the following:
- An inscription: Fully on-chain data (e.g., an image or text) plus associated metadata shoved into Bitcoin blocks through “inscribing.”
- An ordinal: A single satoshi (the smallest unit of Bitcoin), which is unique and non-fungible, enabled by a novel convention called Ordinal Theory, implemented in a piece of open-source software called Ord (released by creator Casey Rodarmor in December 2022).
An “Ordinal,” or Bitcoin NFT, is created at the end of a process that starts with putting data on-chain (inscription) and ends with mapping the data to a non-fungible satoshi using Ordinal Theory.
The main difference between Ordinals and NFTs on other chains is that content data (inscriptions) on Ordinals are always stored on Bitcoin; NFTs on other chains are mostly pointers to actual data that live off-chain (e.g., on Arweave, IPFS). The main similarity is that both are viewable, collectable, tradeable, and creatable. This guide will specifically explore how to create them.
While anyone can create an Ordinal on their own, the process is onerous for casual users because it requires the following:
- Downloading and syncing a full node
- Downloading the ord wallet
- Executing commands via command line
Instead, we’ll focus on how to inscribe Ordinals quickly using existing services.
Step 1: Get an Ordinals-Compatible Wallet (Or Two)
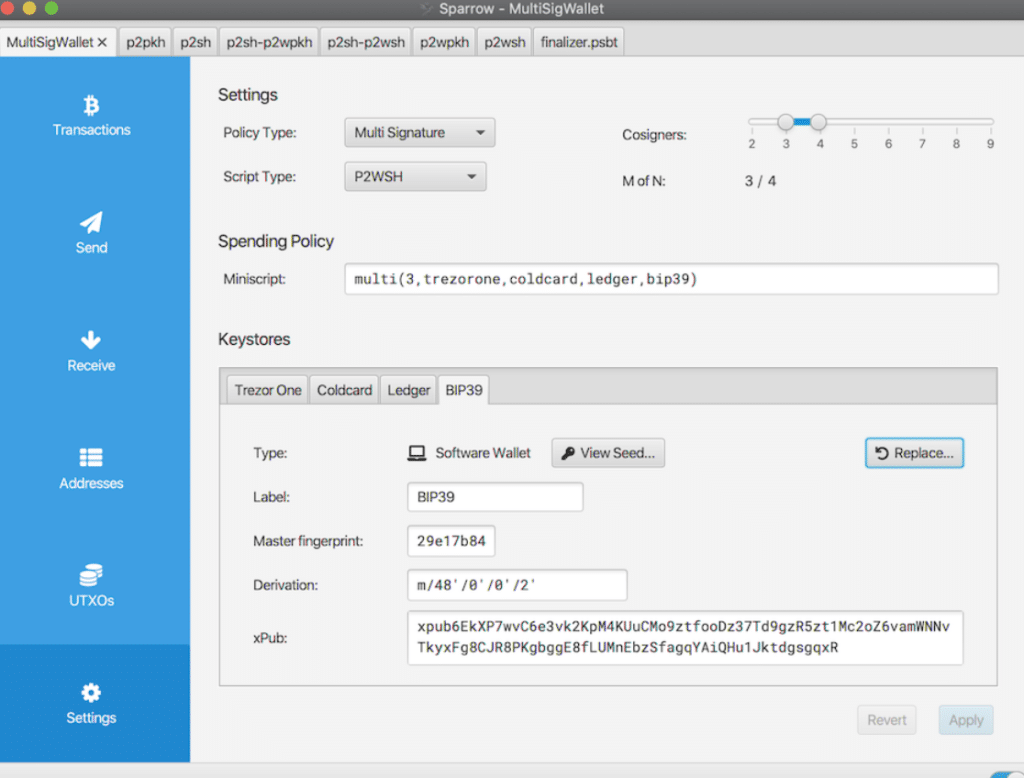
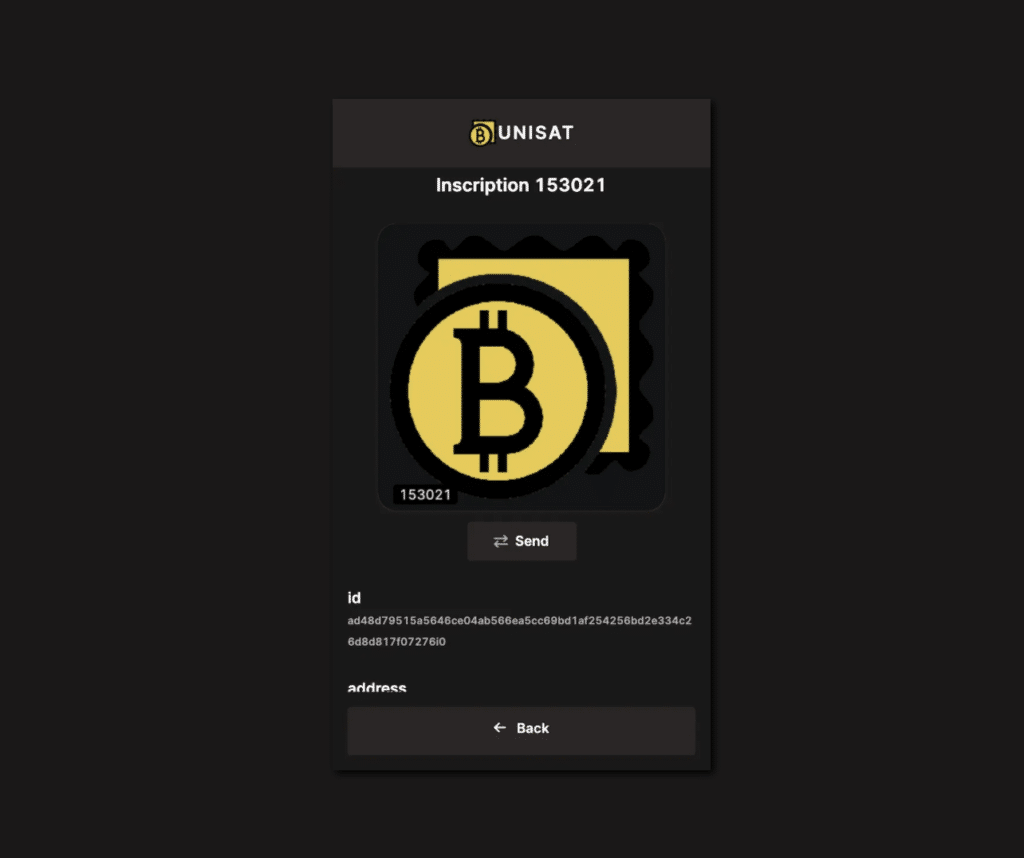
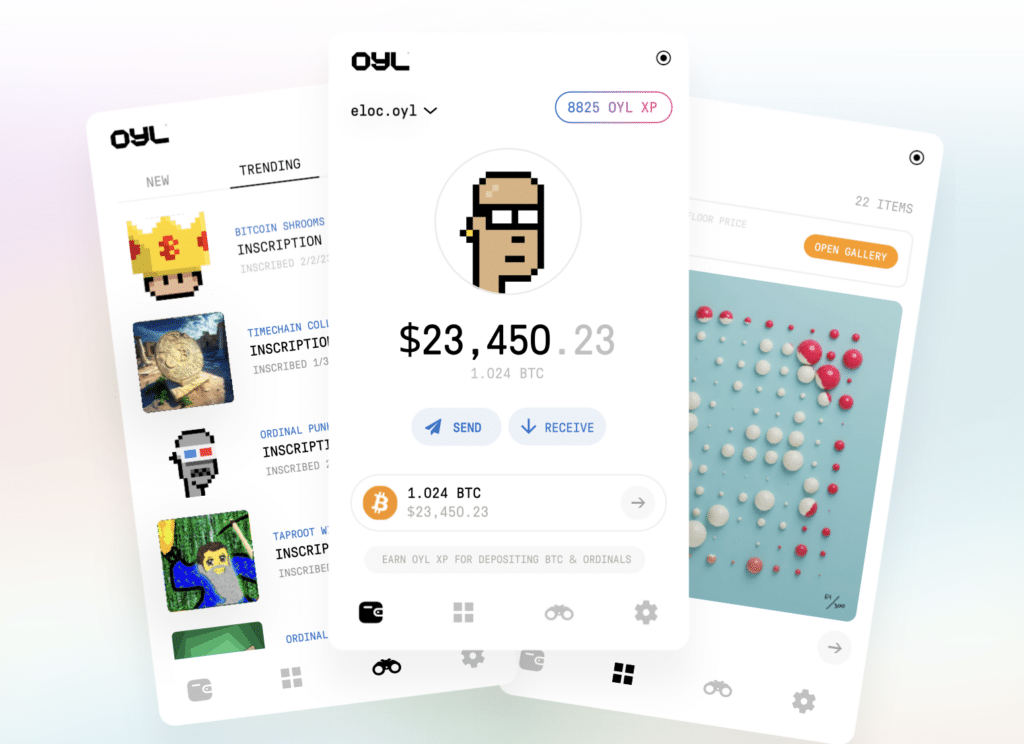
Popular Ordinals-compatible wallets include graphical user interface (GUI) wallets like Sparrow (instructions here) or web wallets like Unisat, Oyl, or Xverse (requires STX). For this guide, we’ll assume you’re using Sparrow.
Tip: Think twice before using a custodial wallet where you have to trust a third party with your keys. As Bitcoiners say: not your keys, not your coins.
Step 2: Get Some BTC
You’ll need BTC to pay fees to the inscription service you use. You can pay the fee from any wallet with BTC in it. Inscription costs vary based on fee markets and data size, but for a typical JPG (and if you’re not in a rush), budgeting around $50 per inscription should be more than enough.
Tip: To be safe, don’t send the BTC to an address where you plan to receive your Ordinal. Maintaining a separate address will prevent you from accidentally sending your Ordinal out. For instance, in this example, it’s OK to pay the inscription fee from any Bitcoin wallet (e.g., Ledger Live, Blue Wallet, Coinbase), but you should make sure to receive the inscription only to the receiving address generated in Sparrow.
Step 3: Pick an Inscription Service
Inscription services are run by third parties and enable you to inscribe and receive your Ordinal via a friendly-to-use interface (for a fee). Popular inscription services as of this writing include:
The next steps assume you’re using Ordinalsbot to inscribe, but other inscription services work similarly.
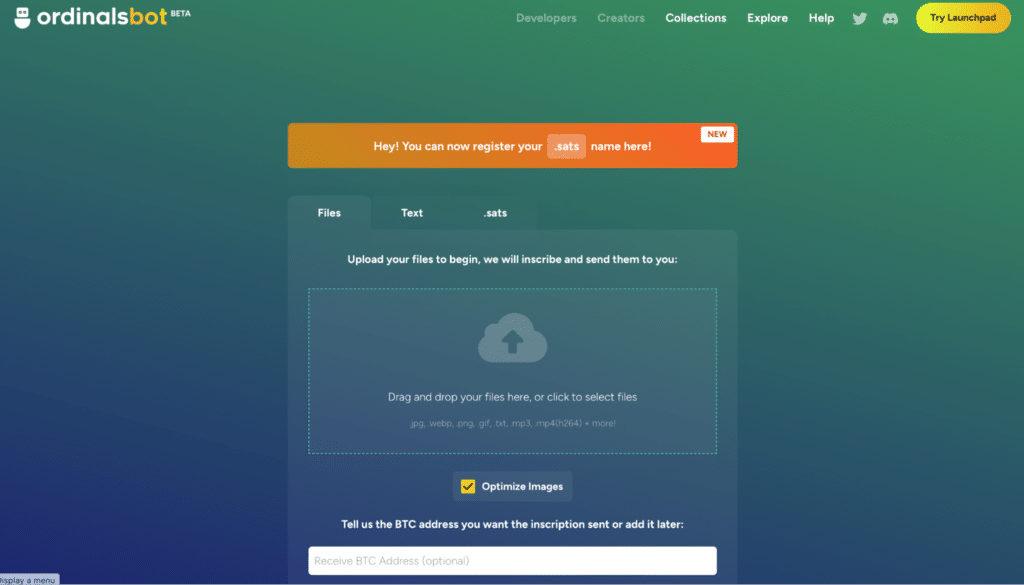
Step 4: Upload Your Content
Choose which file type you want to inscribe and drag and drop your desired data — such as an image, video, or music — into the upload box.
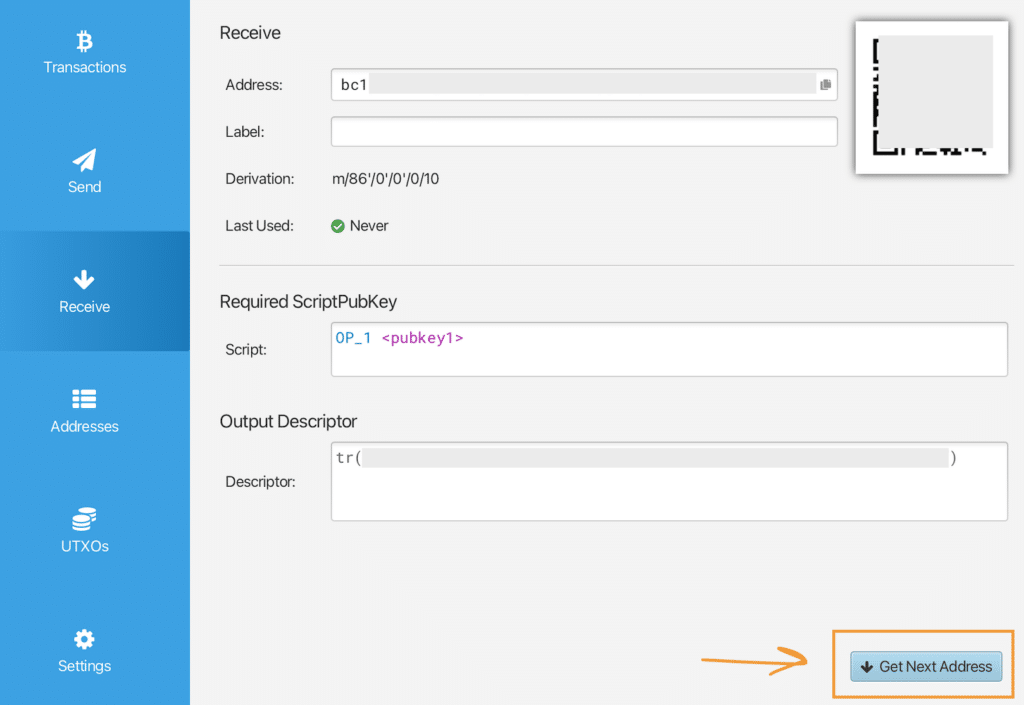
Step 5: Input the Receive Address for Your Ordinal
In the “Receive BTC Address” field on the inscription site, input the receive address you want the Ordinal sent to.
In a correctly configured Sparrow wallet, click “Get Next Address” to generate a new receive address for the Ordinal you are inscribing. Make sure to use a fresh address for each Ordinal. Do not send multiple Ordinals to the same address. Label the address with something you’ll recognize as belonging to the inscription you’re about to do.
Important: Outside of Ordinals-native wallets, do not send or receive Ordinals in your normal Bitcoin wallet or exchange account. Your Ordinals may be lost forever if you do this. Until wallets explicitly supporting Ordinals launch, the safest way to receive Ordinals is via your correctly configured Sparrow (GUI) or Ord (command line) wallet.
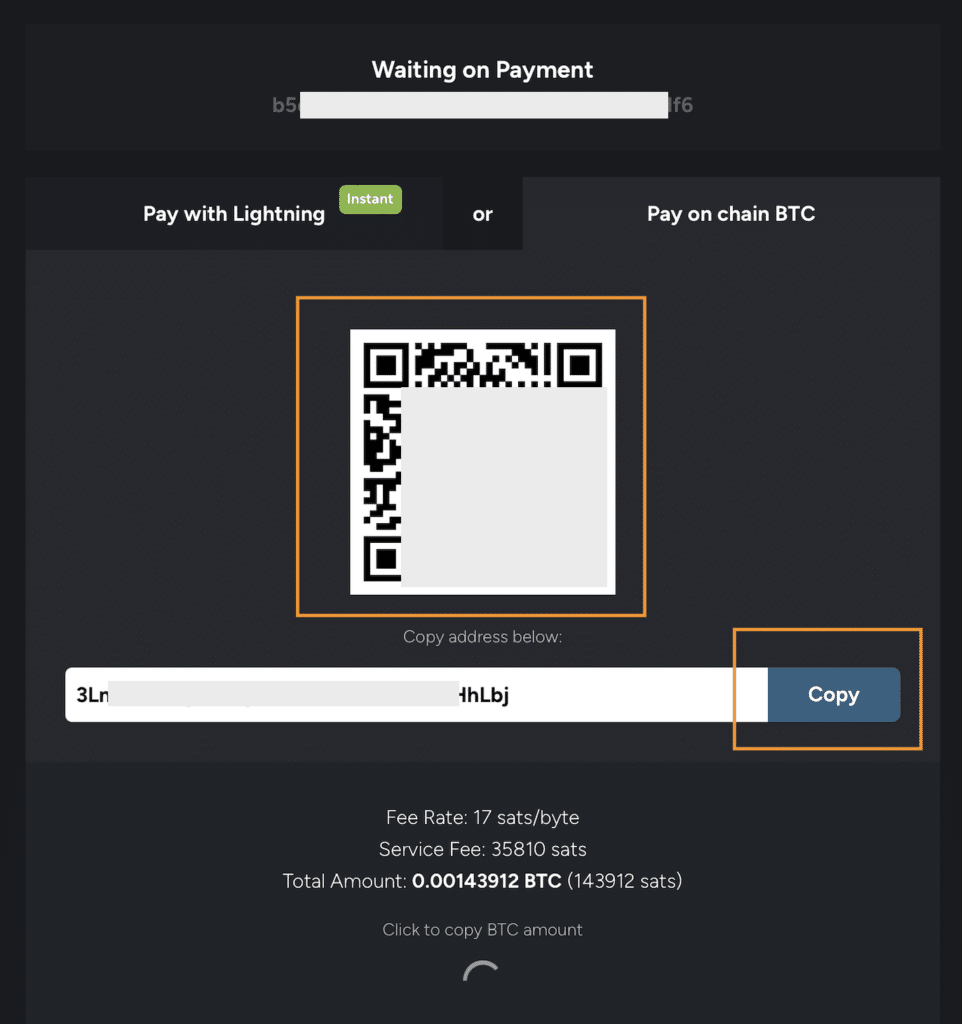
Step 6: Pay Fees
You’ll need to pay a network fee (to Bitcoin miners) and a service fee (to the inscription service). If the service allows you to set a custom fee, like Ordinalsbot does, input your desired fee; higher is generally faster and lower is slower.
Tip: If you go too low on the network fee, your inscription might take a long time or not be included at all.
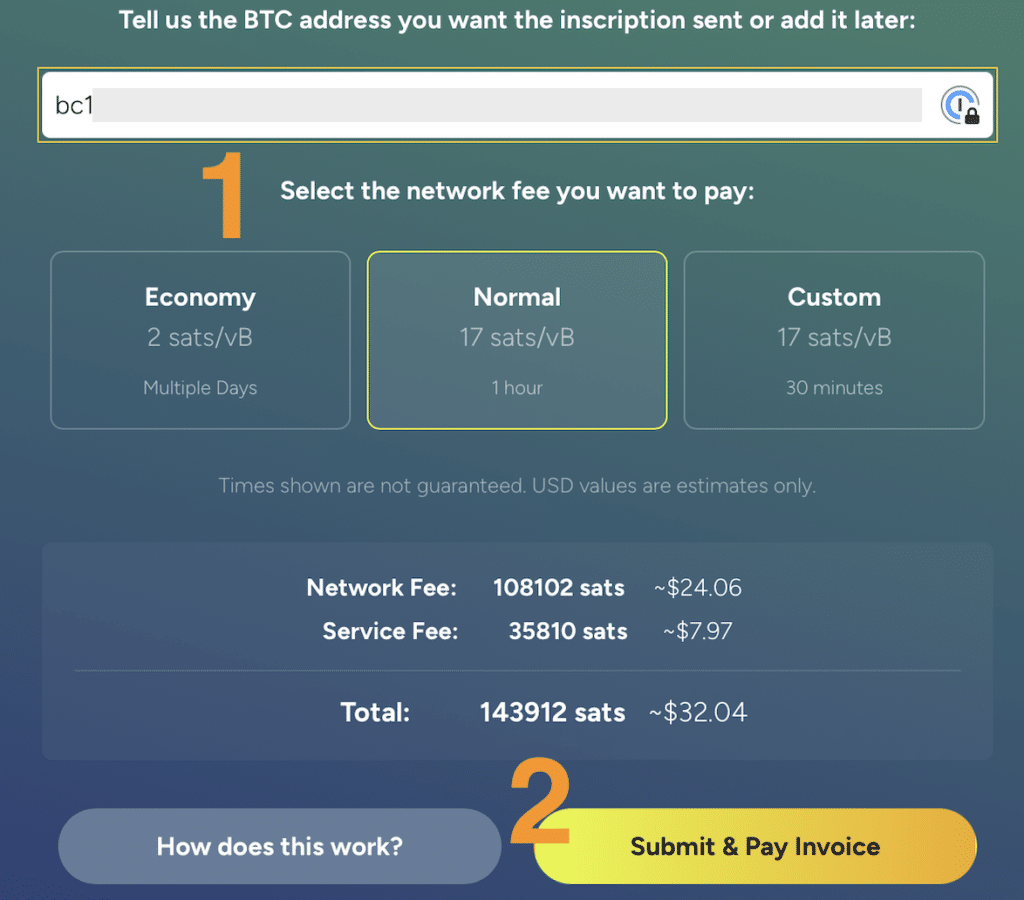
Once you’ve selected the network fee, pay the invoice by scanning the QR code or copying the receive address into the wallet you’re sending BTC from. Make sure to pay the correct amount.
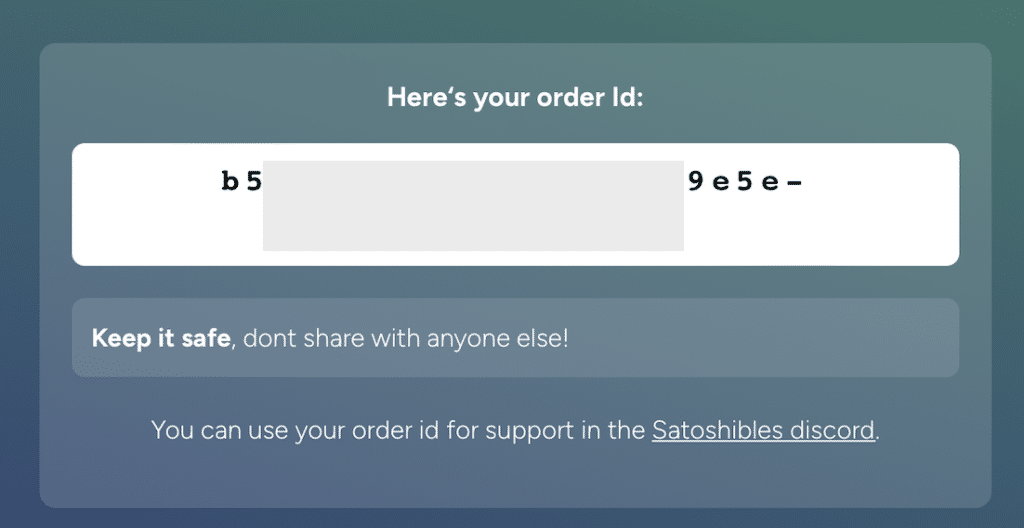
Step 7: Wait for the Inscription to Complete
On Ordinalsbot, you can check the status of your inscription by looking up your order ID:
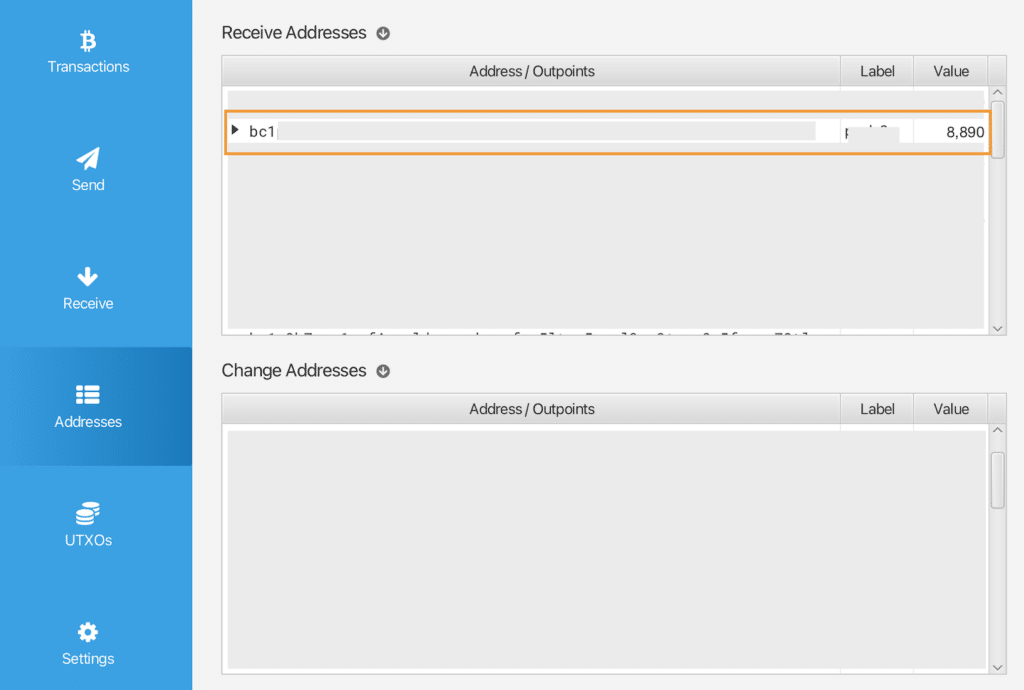
Step 8: Confirm Receipt of Your Ordinal
Depending on network congestion, your fee payment, and the inscription service, your new, shiny Ordinal should show up at some point at the receive address you inputted in Step 5. Here’s what that looks like in Sparrow:
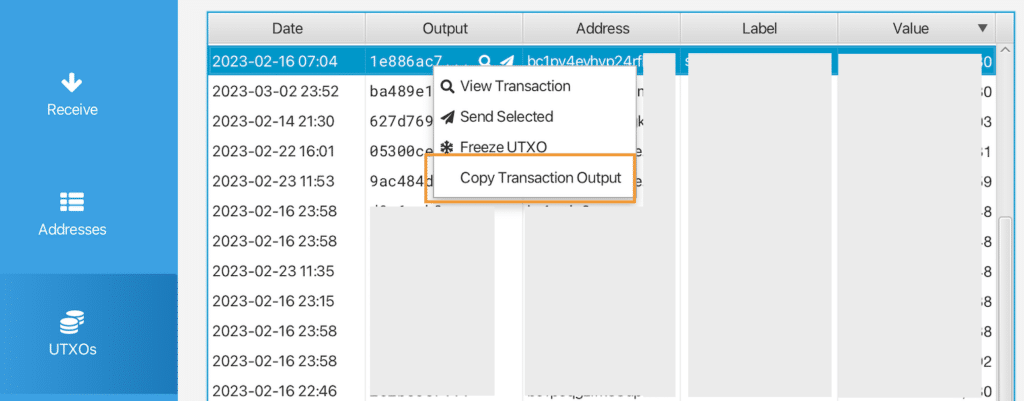
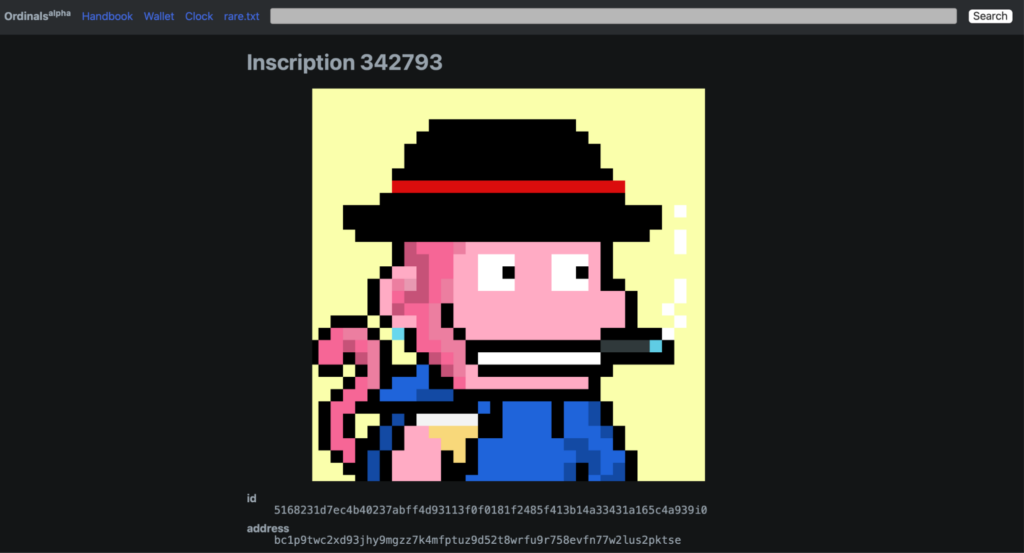
Step 9: Validate and Look Up Your Ordinal/Inscription
To look up your Ordinal / inscription, copy the transaction output associated with the Ordinal you just received:
Paste it into the search bar at Ordinals.com or another Ordinals-compatible explorer:
Step 10: You’re Done
Congratulations on inscribing your Ordinal!
Additional Resources
Here are some links to get started:
- Ordinal creator’s docs
- Product directory (community-managed)
- Official Discord (Ord team-managed)